Integrating Messenger with AxiomaBot allows your custom chatbot to communicate directly with customers via your Facebook pages. It also allows you to take over the conversation whenever you want and communicate with users yourself through messenger. This provides a seamless and efficient way to handle inquiries and automate responses, while giving you the freedom to talk to your customers whenever you want. This guide will walk you through the necessary steps to connect your chatbot to Messenger for your facebook pages, ensuring smooth and effective customer interactions.
Connecting to messenger
1. First navigate to your Chatbots page, and create or pick a chatbot.
2. In the Integrations columns click the Facebook Messenger icon.

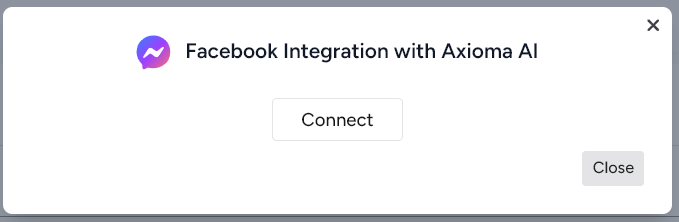
3. Click on Connect if it is the first time you use the integration or manage, if you already connected pages before.
4. If this is the first time you will be asked for permission to allow chatbase to use your information. Note: if you integrated some pages and would like to modify your selection pick the Edit Previous Settings option
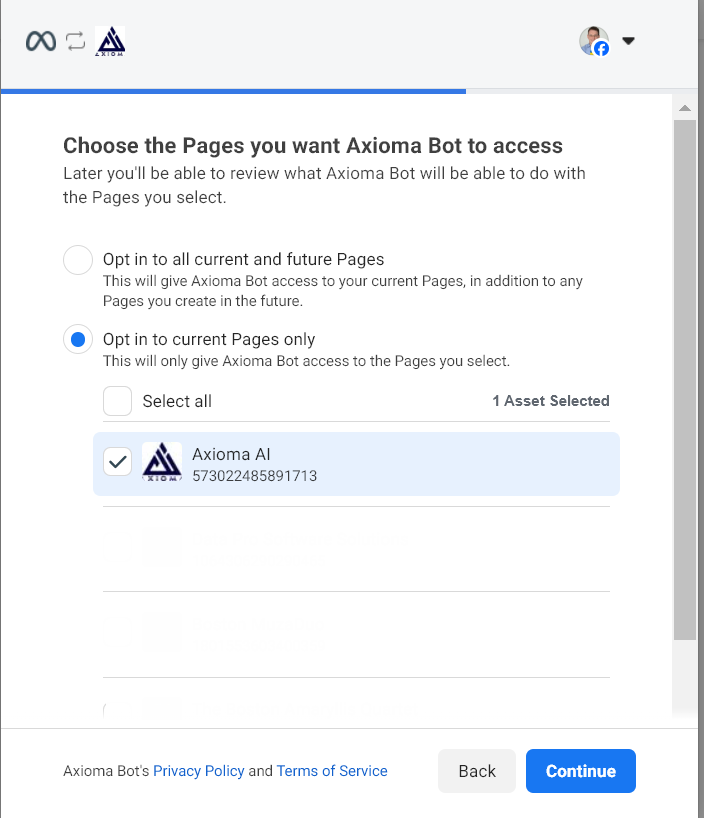
5. Choose which pages you would like to integrate the chatbot with by selecting the Opt into current pages only option, if you want to integrate all pages on your account select the Opt all current pages option.
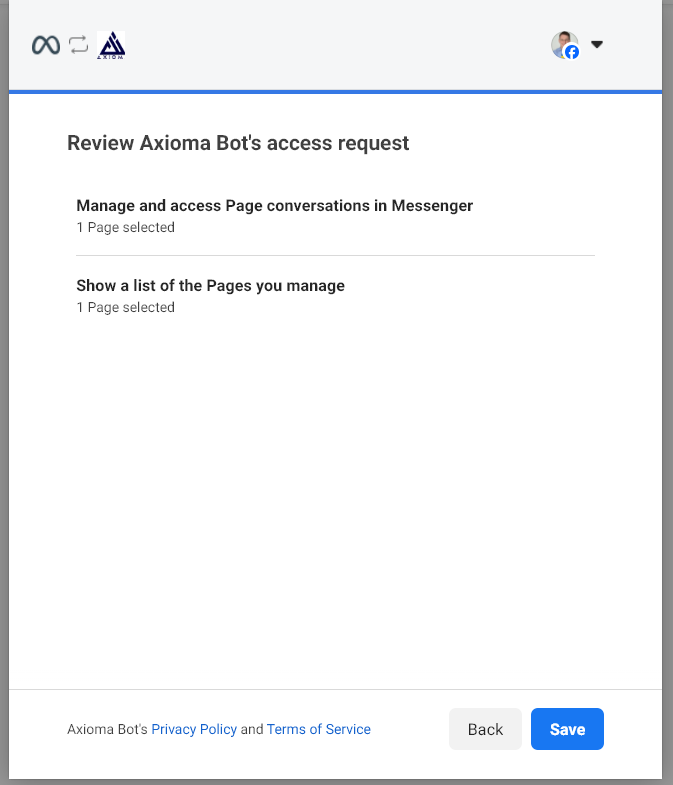
6. Review the permissions, click Save and wait for the integration to connect, this should take only a few seconds.
7. Click on Got it to acknowledge the successful integration.
8. Once connected you can manage your pages through the Messenger dashboard. It allows you to add new pages by clicking the Connect a new Facebook page button or delete existing pages using the three dots next to the page.
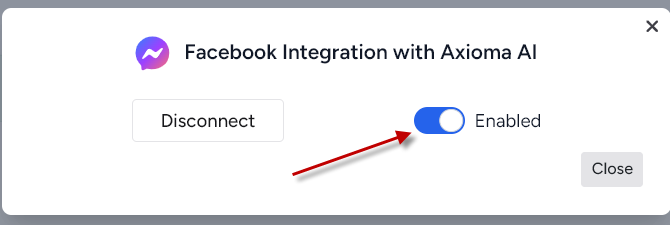
9. Once connected to Messenger, you can toggle the integration on or off without disrupting the connection. This feature enables a smooth transition to human intervention whenever needed.