
Step 1: Sign Into AxiomaBot and Configure Your AxiomaBot Chatbot
To add an Axiomabot chatbot to your WordPress website, you’ll need to first sign into your Axiomabot account to create and set up a chatbot. If you don’t have an account, you can start by creating an AxiomaBot account for free. If you are not sure how to create a chatbot, read this detailed guide on how to create a chatbot on AxiomaBot.
Step 2: Install AxiomaBot on Your WordPress Website
1. Log in to your WordPress admin dashboard:
Your dashboard URL is typically yourdomainname.com/wp-admin/. You can also access it through your web hosting control panel.
2. Install and activate the AxiomaBot plugin:
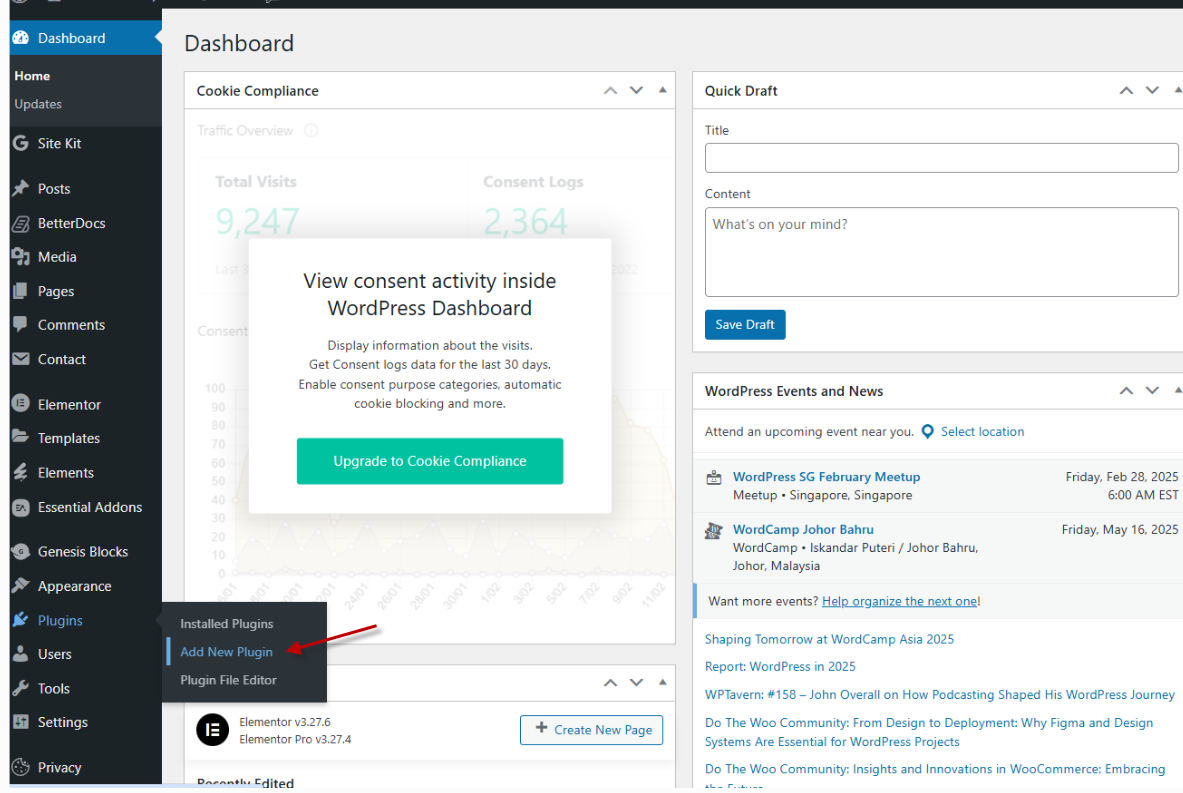
- In the left sidebar of your WordPress admin dashboard, click on Plugins and select Add New Plugin
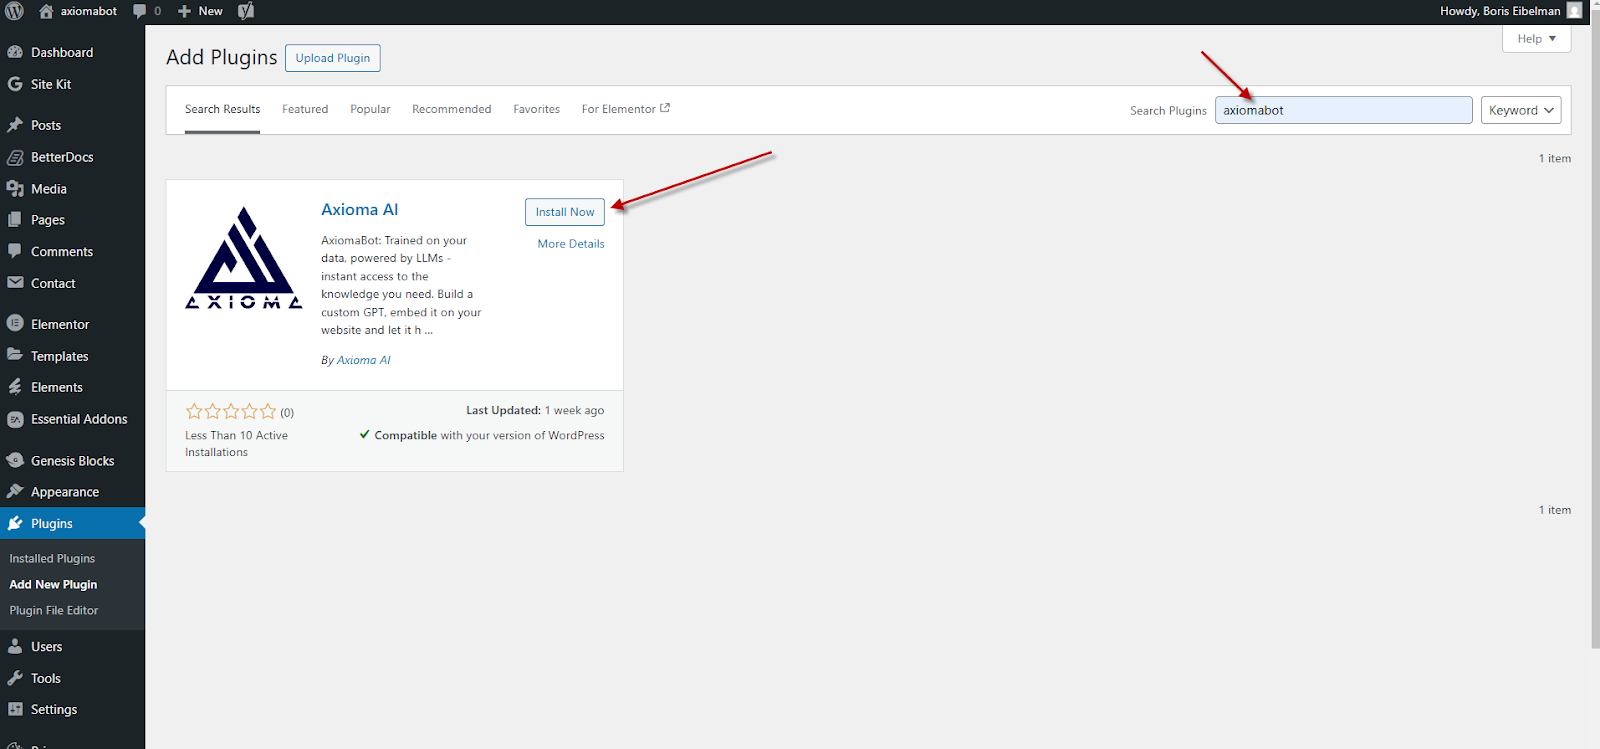
In the search bar on the next page, type “AxiomaBot” to search for the AxiomaBot plugin.
Find the AxiomaBot WordPress plugin, click Install Now, then Activate.
3. Add your Chatbot ID:
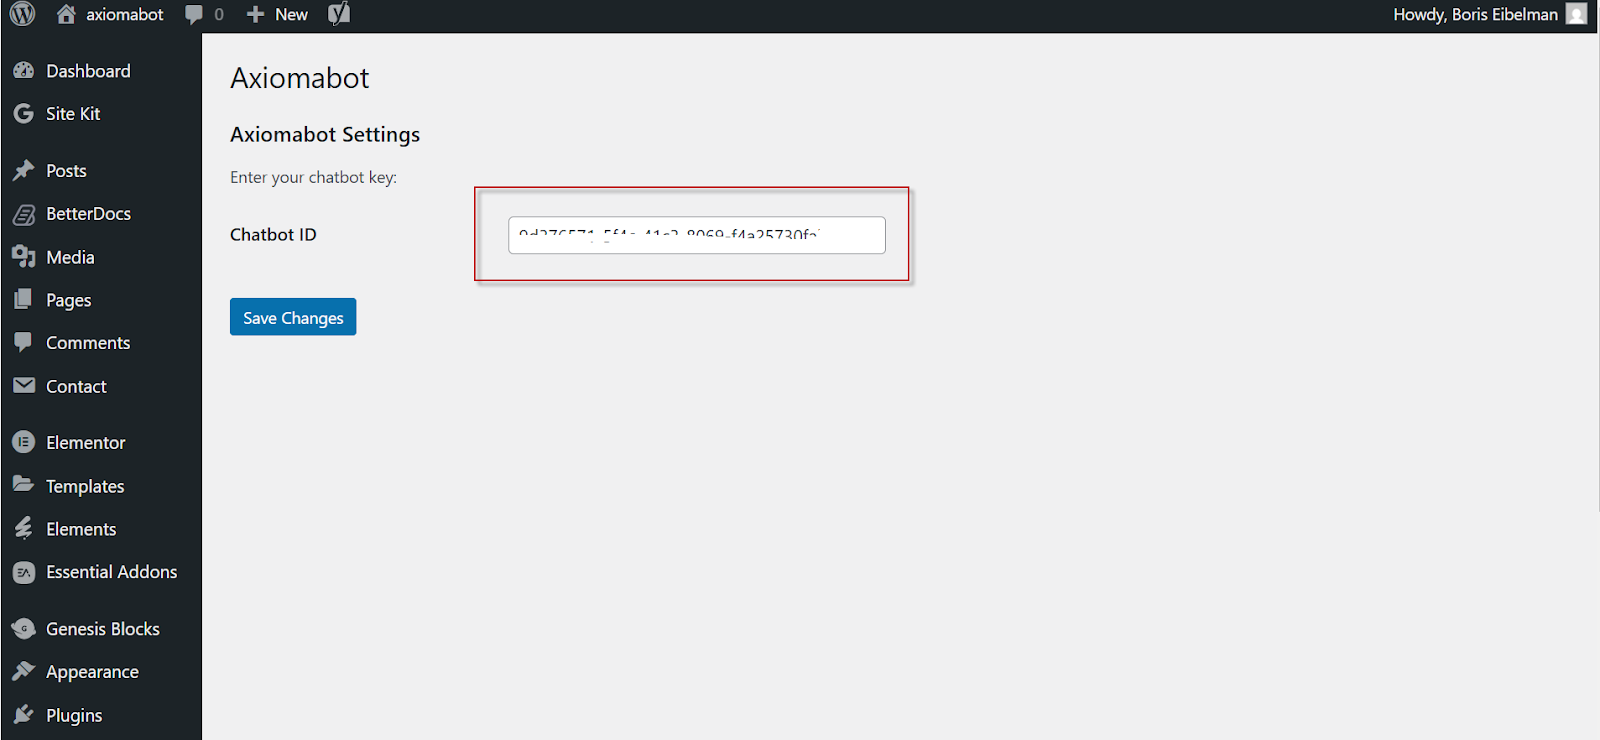
- In the left sidebar of the WordPress Admin dashboard, click Axiomabot.
- In the Axiomabot settings, find the text box labeled “Chatbot ID”.
4. Copy and paste your Chatbot ID:
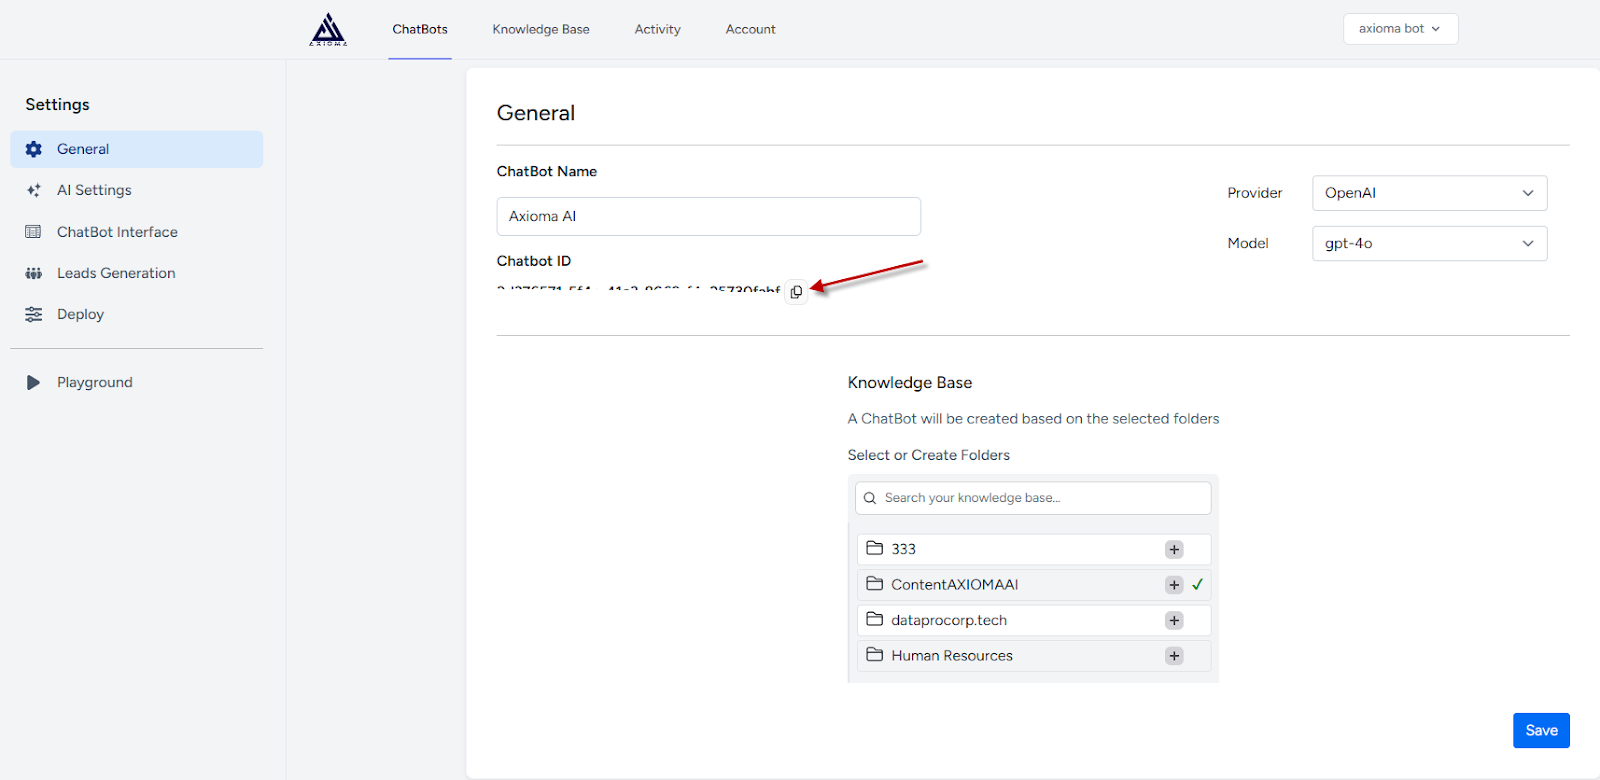
- Go to your Axiomabot account and navigate to your Chatbots page.
- Under the Actions of the chatbot you want to embed, click Edit
- Under the General tab, you’ll find the Chatbot ID. Copy it.
- Paste the copied Chatbot ID into the text box in your WordPress settings.
5. Save your changes:
Click Save Changes. Your Axiomabot chatbot should now be live on your WordPress website!